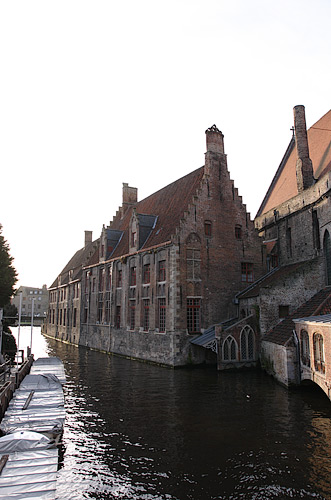

I'm sure at some point you've probably taken a shot which had a unexpectedly featureless flat white sky. If you have, you might also have asked yourself "Why did that happen?", and quite possibly your next question was "How can I fix that?"
 |
| An example showing a white sky |
The simplest solution is to only shoot when a subject is well lit, that way the sky and subject will have more similar brightness levels; but what if you can't or don't want to do that? Perhaps you're on holiday, and you're only visiting somewhere for a few minutes; or worse still perhaps it's the wrong season and that area won't be in the sun for a few months. What can you do?
The traditional approach for most landscape photographers was to use a graduated neutral density filter (usually referred to as an "ND grad"), which you put in front of the camera lens to tone down the brighter part of an image, usually the sky. As a technique it works well, but only if the bright area meets the dark area in a straight line, which unfortunately isn't usually the case in the real world.
 |
| A graduated ND filter |
As you can see above, a graduated ND filter is darker at one end, and transparent at the other. If you placed the dark part of the filter diagonally across the white, it would help, but there would still be an edge in an inconvenient place.
This is where High Dynamic Range Imaging (HDRI) comes to the rescue! A High Dynamic Range (HDR) photograph is an image that captures a wider dynamic range than a standard photograph. Put simply, dynamic range is the range of intensities between the darkest and lightest tones in a scene or image.
I hear you asking yourself, but surely this is a limitation of the camera? Won't I need special equipment to fix it? Actually, no, the good news is it's probably quite easy to fix with your current camera. All you need to do is take at least two different shots of the same scene with different exposure settings, i.e. one dark shot, and one light shot, and then combine them together on a computer later.
You may have seen HDR images on the internet that have strong haloes around the edges or look completely unnatural, these are usually a result of choices made by the photographer during processing. Remember, an HDR image doesn't have to look artificial if you don't want it to!
 |
 |
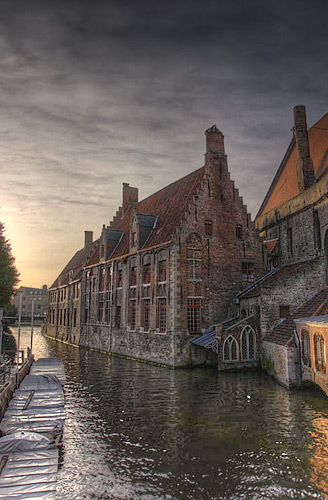
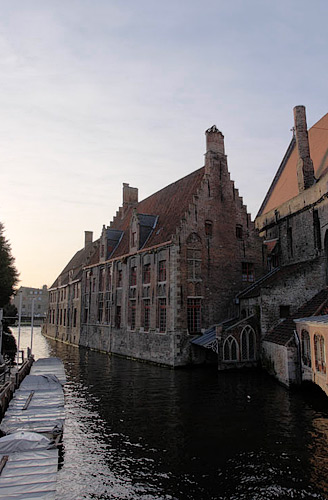
| HDR, converted using Detail Enhancer | HDR, converted using Tone Compressor |
As you can see, the left hand image above looks somewhat unnatural yet rather interesting, whilst the image on the right looks almost identical to the scene in real life. Those are just two different ways to convert an HDR image into an LDR (low dynamic range) image suitable for displaying on a computer screen. In the same way that cameras have limitations on the range of brightnesses that they can capture, most computer displays have limitations to the range of brightnesses they can display.
