Home
1: Intro & spec 2: First impressions 3: Installing an HDD 4: User interface 5: Timings & performance 6: Compared to 7: Conclusion
Nexto CF Ultra ND2525 portable storage device review

4: User interface

The Nexto is fairly intuitive in use, but I'll run through the most important features anyway.

Just as a reminder, there's only one button, so it performs a multitude of tasks. Each time the display shows an L press and hold down the button to choose that option, if there's an S press the button for a short space of time, and that option will be chosen instead.

Formatting the hard disk

Warning: Formatting the hard disk will destroy any images or other files stored on it!
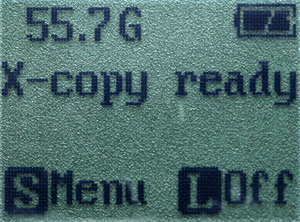
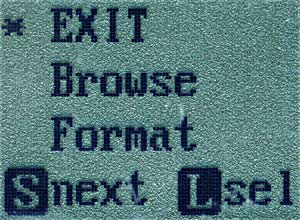
Nexto CF Ultra ND2525 UI

At the first screen press the button briefly to access the menu

Nexto CF Ultra ND2525 UI

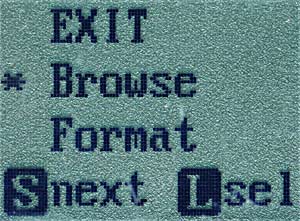
Here's the main menu screen. Press the button briefly to get to the next option

Nexto CF Ultra ND2525 UI

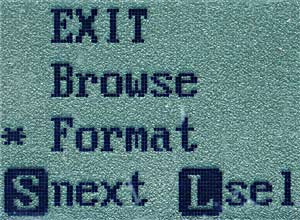
Then press it again to highlight the Format option

Nexto CF Ultra ND2525 UI

Now press and hold the button to select the Format option from the menu

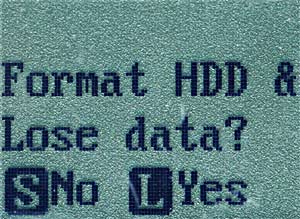
Nexto CF Ultra ND2525 UI

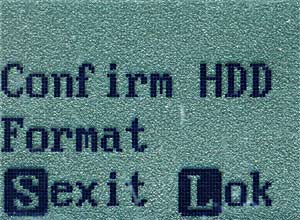
To format, press and hold the button again

Nexto CF Ultra ND2525 UI

Confirm again by pressing and holding the button once more

Nexto CF Ultra ND2525 UI

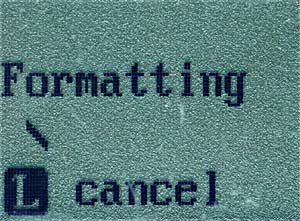
We're now formatting, this might take a while...

Nexto CF Ultra ND2525 UI

When the format is complete we''ll return to the "ready" screen once again. As you can see, the chances of this happening accidentally are quite slim.

Copying a card to the hard disk

Insert the card, and turn on the ND2525
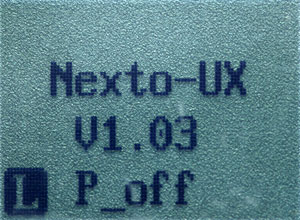
Nexto CF Ultra ND2525 UI

This is the startup screen, it appears briefly every time you turn the ND2525 on. V1.03 tells us which firmware version it's running, and the black L tells us we need to press the button for a (L)ong time if we want to select that option.

Nexto CF Ultra ND2525 UI

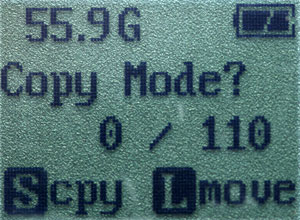
This screen appears when you insert a card with new data on it. Pressing the button for a short while will copy the data from the card to the HD, if you press and hold the button, the files will be moved instead (i.e. the files will be deleted as they're copied) 

Nexto CF Ultra ND2525 UI

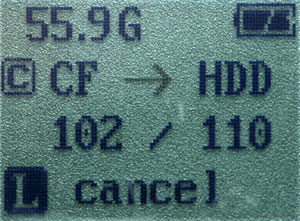
This screen appears during a copy, all we have to do is wait. The C in a box tells us that the Nexto is currently copying.

Nexto CF Ultra ND2525 UI

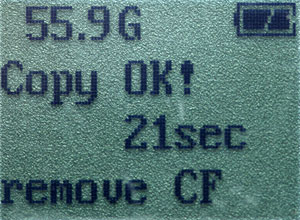
Copying done - we need to remove the card. The time shown is the time taken for this copy - 21 seconds in this case.

Remove the card:

Nexto CF Ultra ND2525 UI

The Nexto is now waiting for us to do something - if you leave it 30 seconds it'll switch off automatically. However, if you want to verify the card (strongly recommended), then you need to re-insert it.

Verifying the copy

Re-insert the same card again to Verify it:
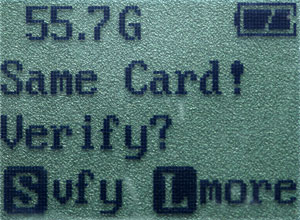
Nexto CF Ultra ND2525 UI

The Nexto has identified that the card is the same, and contains the same data, so we're asked whether we wish to verify - a short press on the button, and we're on to the next step.

Nexto CF Ultra ND2525 UI

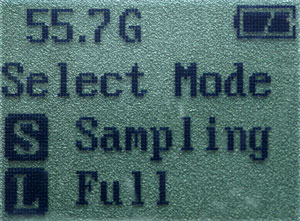
Two options here, Full Verify, and Sampling Verify. A Full Verify checks that each file has been written to the HD correctly. A Sampling Verify just checks the first 128kb of each file. My images are important to me, so I chose the Full Verify.

Nexto CF Ultra ND2525 UI

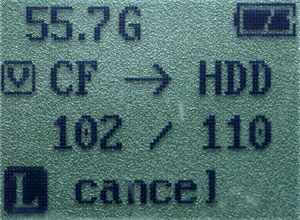
Again it's a matter of sitting back and waiting - as you can see from this shot, we have 55.7Gb free on the hard disk, and we're verifying the 102nd file of 110. Press and hold to cancel.

Nexto CF Ultra ND2525 UI

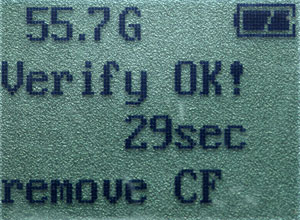
All done! The verify was a success, and it took 29 seconds. Remove the card, and we'll be back to the status screen again

Nexto CF Ultra ND2525 UI

Press and hold the button to turn off the Nexto - or wait 30 seconds, and it'll power down of its own accord.

So that's it - a copy with full verify, done!

< Previous page | - Top of page - | Next page >